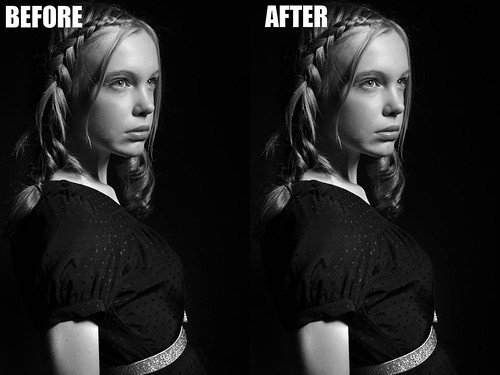
1. Do not go crazy with the retouching, subtle changes work best:
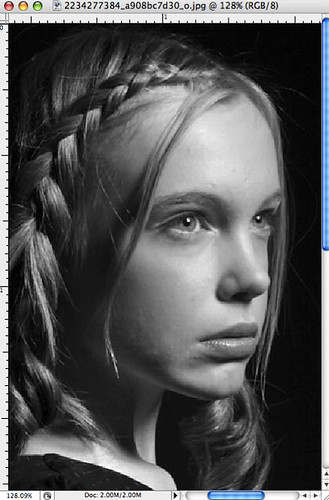
2. Start by zooming in on the problem areas:
3. Copy the background layer by hitting Ctr/Cmd+J then create a new layer and select the Spot Healing Tool (J):
4. Make sure that the box "Sample All Layers" is selected in the File menu:

5. Select the problem spots and make sure that the circle (cursor) is bigger than the problem area. You can increase or decrease the size of the circle by hitting the left or right bracket key. Click on the problem area and drag the cursor until you see a black spot form over the spot and then let go.
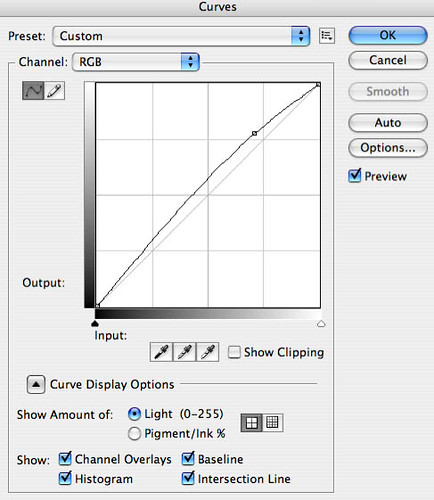
6. In this particular example, the image could use a bit more highlights. Select Curves from the Adjustment Layers (circle half black and half white) menu at the bottom of the layers palette and adjust the entire RGB curve as follows:
7. We did remove spots and blemishes from the model's skin but further smoothing might be needed and this can be accomplished by using a localized blur. Create a new blank layer and then while clicking on the Ctrl/Cmd key select Merge Visible from the Layers drop down menu. This will bring up a new image copy with all the properties of the layers below. Select Filter>Blur>Gaussian Blur from the Filters menu:
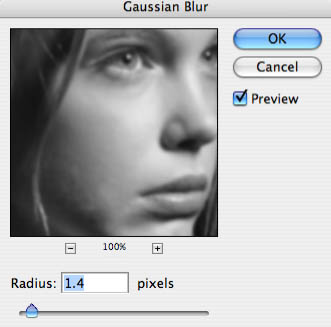
This process will add a global blur to the whole image but you want to apply it locally so add a Mask Layer (third item from the left at the bottom of the layers palette)and invert it (Ctr/Cmd+I). Now select the Brush Tool (set foreground color to White) and adjust the settings of the Brush Tool as follows:
8. The final step (for this image) includes a slight sharpening of the eyes and lips. Once again, create a new layer and then while pressing the Ctrl/Cmd key, select Merge Visible from the Layers palette drop down menu. Select the Pen Tool (P) and start carefully selecting the eyes and the lips. If you have no experience with the Pen tool then use the Polygonal lasso tool, which is not as accurate when drawing curved shapes:
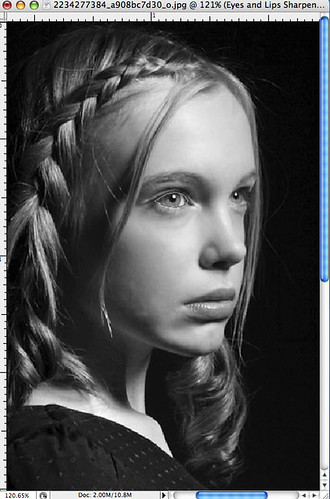
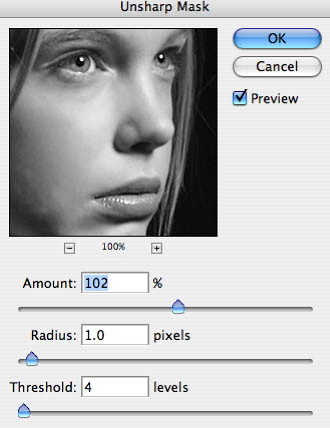
9. Once the selections have been made go to the Paths tab in the layers palette and select the Work Path layer. Once selected, click on "Load Path As Selection" (third item from the left at the bottom of the Layers palette. Then hit Shift+Ctrl/Cmd+I to invert the selection and go to Filters>Sharpen>Unsharp Mask. The amount of sharpening depends on the resolution of the image:
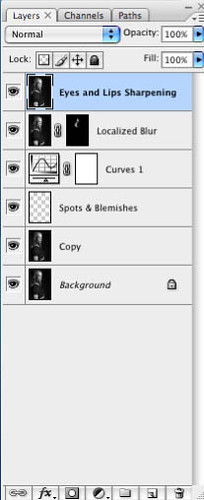
10. Your final layer structure should look something like the following. Don't forget to rename your layers so you know where to go to back to in case changes need to be made:
