Tuesday, January 27, 2009

Studying Light

Today I decided to add a few more speedlights into the mix. The following frames were shot using a couple of variations of the following setup:

Blue_Scary_Setup

The post-processing for this picture involved a little bit of everything. Converting the NEF file to TIFF using Capture NX, adding a couple of color control points to bump up the saturation of the blue background and add a bit of brightness to the eyes. The TIFF file was brought into Adobe Lightroom and then edited using Photoshop CS4, where a couple of filters (Glamour Glow and High Key) from Color Efex Pro 3.0 were applied. The processed TIFF was then brought back into Lightroom where a variation of Matt K's Nostalgia preset was applied.
Scary Blue-2

Scary Blue-1

Scary Blue-3

Monday, January 26, 2009

More Selfies with Lumiquest Softbox III and Alien Bees

The setup for these shots was just the same as the one for the previous post. The only difference being that the background SB-800 was substituted by a B1600 at 1/32 power with a green gel over the reflector. Both triggered by Pocket Wizards.

More Selfish Silliness-2

More Selfish Silliness-1

Saturday, January 24, 2009

Silliness with the Lumiquest Softbox III

This is pretty much what happens when it's -20C outside and you just don't feel like braving the weather to grab a few shots. I set up one (1) SB-800 with the Lumiquest Softbox III at a 90 degree angle above and slightly in front of me. I tried initially to set it up right above me but it kept producing a very pronounced hot spot on my forehead. I finally decided to move the softbox slightly in front and I bounced the light back to my face with a gold reflector held at chest level. The speedlight was set to manual at 1/32 power and triggered via Pocket Wizards. The few shots that have a blue background were shot using another SB-800 with two (2) blue gels and aimed at the curtains of my condo. The yellow lines in the background were provided courtesy of the sun coming through the curtains. The background SB-800 was also set to 1/32 power and also triggered via PWIIs.

Selfish Silliness-4

Selfish Silliness-6

Selfish Silliness-1

Selfish Silliness-5

Selfish Silliness-3

Selfish Silliness-2

Thursday, January 22, 2009

Fixing White Balance in Post

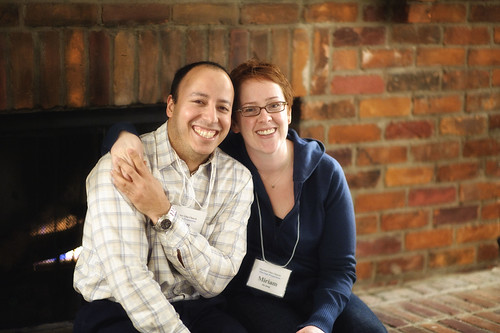
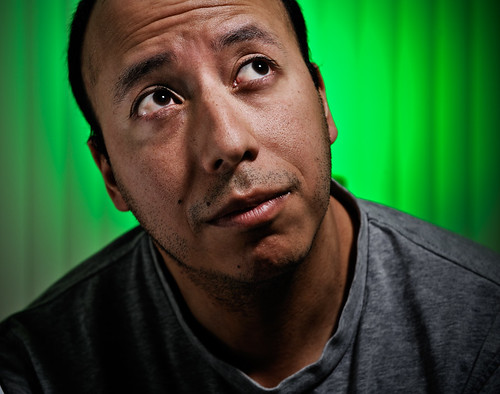
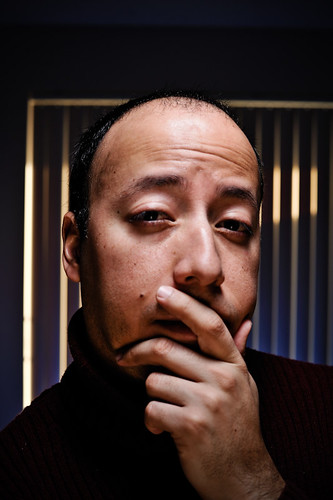
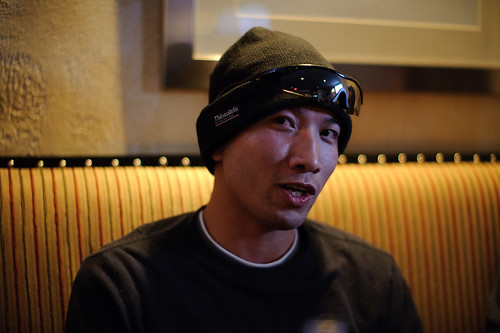
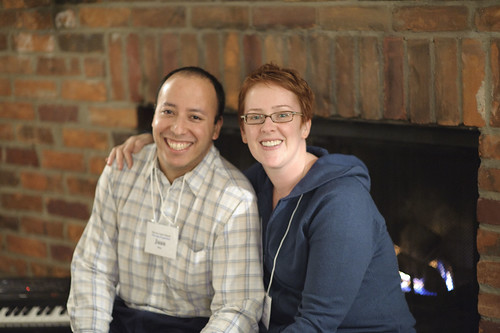
If you have the means to purchase one, please get an ExpoDisc. It's money well spent that goes towards reducing the time you spend in front of the computer fixing stuff you could've done in camera. However, if purchasing yet another piece of equipment is just not possible then there's always Photoshop. Probably most of you know this little piece of info already but just in case, here it goes...The following images of my fiancee and I were taken by one of the facilitators at the marriage prep course we are attending. White Balance was set to auto on the D3, and as amazing as the AWB on the D3 (gets it right 90% of the time) is, it can be thrown off sometimes. This is one of those cases:

AWB_D3
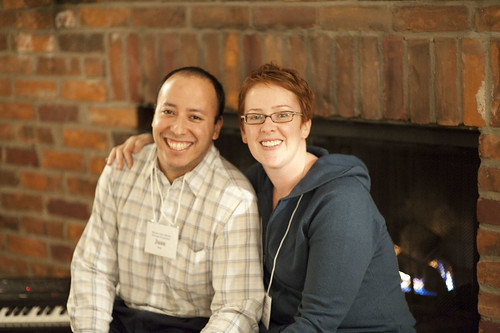
As you can see, the image is a bit on the warm side

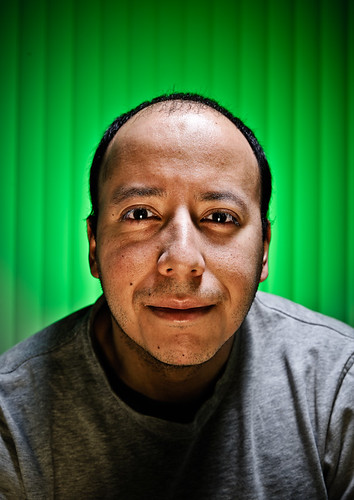
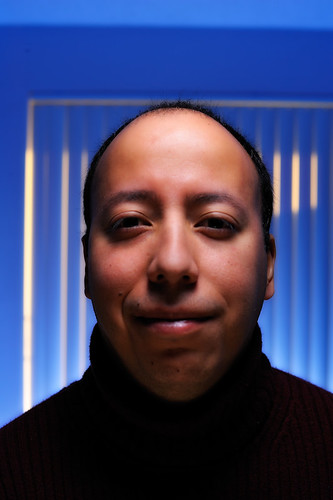
The easiest way to fix this in post is to click on the White Balance Tool (I) on the Camera Raw tool panel and cick on a white or gray point in the image:
Picture 2

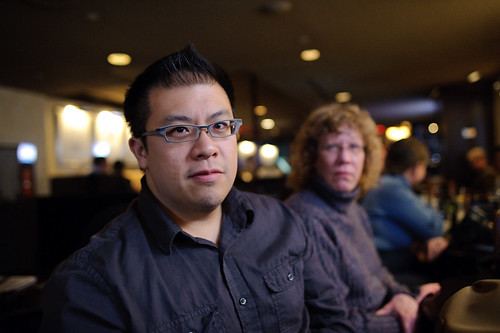
I clicked on the whitest portion of my shirt and this was the resulting image:
WB_Tool_PS
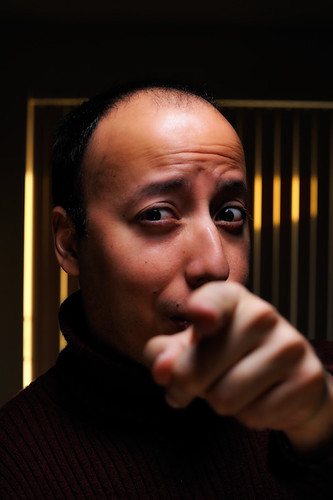
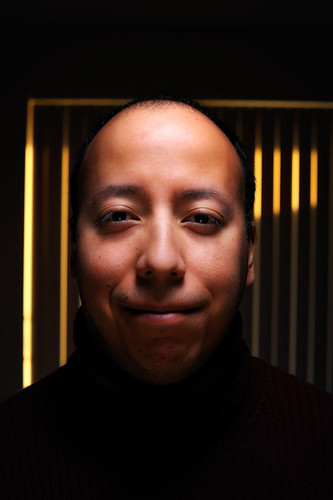
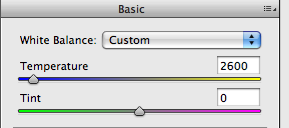
Now, this is way too "cool" for my taste so I proceeded to go to the Camera Calibration Panel and from the drop down menu, I selected the Camera Portrait profile and obtained a more pleasing result:

WB_Tool_PortraitMode
If this is still a bit too cool for your liking, you can go back to the WB temperature slider and tweak it a bit.

If you have a few other photos that need to have the same WB settings applied, you can proceed to save the settings for this photo by clicking on the drop down menu located to the right of the word Basic, in the basic panel:

Picture 5

From the drop down menu select "Save Settings" and it will allow you to save the setting from this photo to a file, which you can use by clicking on "Load Settings" from the same drop down menu. Just make sure you use the same settings for the same scene/room where the lighting was identical otherwise you might get very undesirable results.

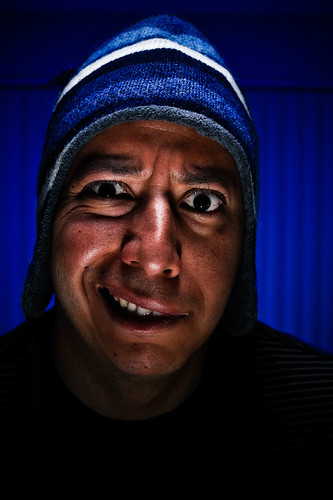
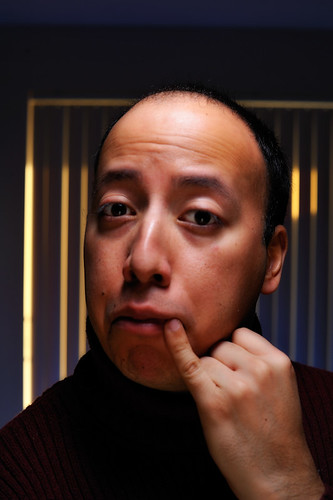
This is another picture from that night, with the WB correction applied as well as the Lighten/Darken and Glamour Glow filters from Nik Color Efex Pro 3.0
At The Marriage Prep Course

Monday, January 19, 2009

Diversity

Ever since I moved to Toronto, I've been fascinated with the ethnic diversity of the city. It's quite amazing that so many people from so many different cultural backgrounds and religious beliefs live together in peace on a daily basis. As a photographer, you try to convey that cosmopolitan atmosphere of our city whenever we are are out and about taking pictures. Yesterday (Sunday, Jan. 18), I had such opportunity. A group of students denominated "Students for Israel" were holding a rally at Dundas Square in front of the Eaton Centre. For those who happen to read this blog and don't live in Toronto, Dundas Square is on the East side of Yonge St., which is the main street that divides the city on down the middle. While the rally took place on the East side, on the West side there were a group of Muslim students handing out literature on Islam and also protesting the Israeli offensive in Gaza. While the police were out in force for most of the rally, when it was "officially" over they pretty much left the scene and people from the East side came over to talk to the protesters on the West side. Amazingly enough, people just voiced their opinions, some got into heated discussions, but violence never played a role. That's why I love Toronto! Here are a few shots from the day:

Students_4_Israel-1

Students_4_Israel-20

Students_4_Israel-21

Students_4_Israel-15

Students_4_Israel-45

Students_4_Israel-53

Students_4_Israel-52

Saturday, January 10, 2009

Nikon Porn and the awesomeness of fast glass

Last night (Friday, Jan.9th) I attended a an outing of my local camera group (tpmg.ca) non-exclusive for Nikon users. As you can imagine, everyone brought out their gear and were ready to play. I thought I had some decent glass until people started pulling out the big guns and also the small ones but very fast. It's probably the first and last time (until the next meet-up) that I got to play with the very rare Noct-Nikkor 58mm f1.2 or handled first hand a Nikon D3x. People were definitely not messing around when the organizer said "bring your gear". Here are a few shots from the night using said optic pearls:

1. Shot using Noct-Nikkor 58mm f1.2. If you are not used to manual focus through the viewfinder, I picked up a tip from fellow TPMGer Charlie to use Live View when in need of precise focus. It worked every single time.

Charlie

2. Another shot with the Noct-Nikkor 58mm f1.2
Jeff

3. This one was taken with a rare Nikon 28mm f1.4 prime. Amazing what fast glass and the clean high ISO (4000 in this case) of the D3 can do with just a tiny bit of available light. This place was quite dark.
Ken and Janet

4. Shot with another rare piece of glass, a manual focus 35mm f1.4
Shelley

5. This one was shot with a good old Nikon 50mm f1.4. I tried the new G version and really didn't notice any difference in performance but then again, I'm no pixel peeper.
Our waitress turned out to be a model

6. The only D3x at the outing and Shelley wished it was hers ;-)
Shelley holding Patrick's D3x