For this particular shot, the room was big enough to fit two pianos, but the ceiling was fairly low and I just couldn't raise my umbrella high enough to the where I needed it to be. The other challenge was getting enough light to cover both subjects, since I had to place the umbrella out of the frame and even at +2.0 EV this is what I was getting:
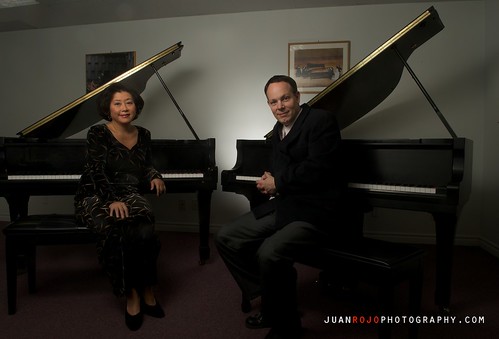
Now, you might say: "That's not so bad!" Well, this is the RAW file after tweaking the shadows in the lower portion of the frame. The setup for this shot was very simple, one (1) SB-900 with a translucent umbrella to camera right, just slightly out of frame and one (1) SB-800 fitted with a 1/4 HONL Speed Grid to create a concentrated spotlight behind the subjects. Now, this is the first version of the file that I presented to the client, a BW conversion using Nik Software's Silver Efex Pro with high contrast to add a bit of drama:
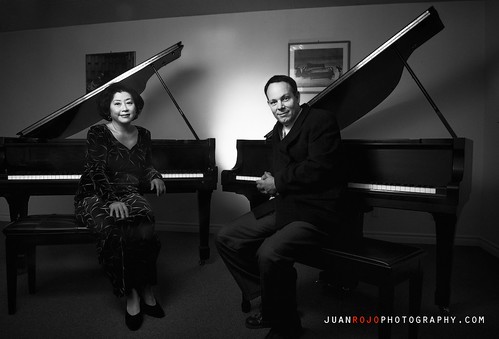
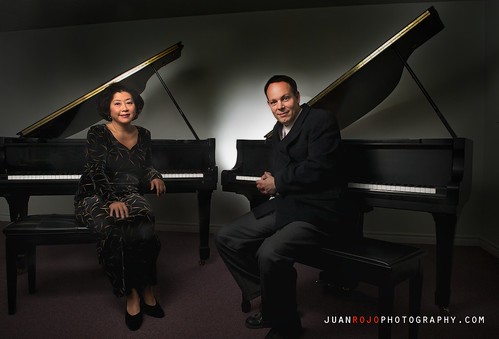
I thought the picture frames behind the subjects added to the composition of the image, but the client felt otherwise and asked me to remove the images. Initially, I thought it was going to be easy but I had completely forgotten that I had used the HONL Speed Grid for this shot, which created different gradations of light throughout the back wall. Needless to say, cloning out the frames (specially the one on the right) was an exercise in patience and precision. For the final image, the client also requested to have the background darkened a bit more. In this case, I think the client was dead on. Once again, I used Nik Software's filters, but this time I applied the Pro Contrast and Midnight filters from the Color Efex Pro 3.0 arsenal to further shape the light to my liking and Viveza 2 to darken the background. Removing the picture frames from the image was done in Photoshop CS 4 using good old cloning.
The same lighting setup was applied to the following image:
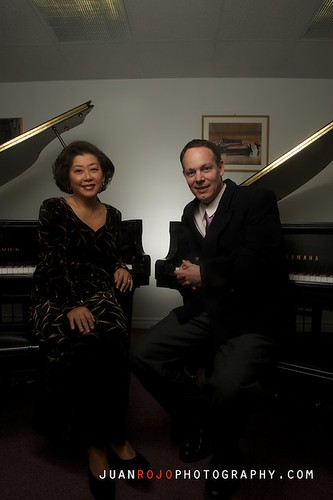
In this case, I boosted the contrast using Color Efex Pro 3.0 Pro Contrast filter and then applied selective lighting using the Midnight filter. The result was the following cropped image:
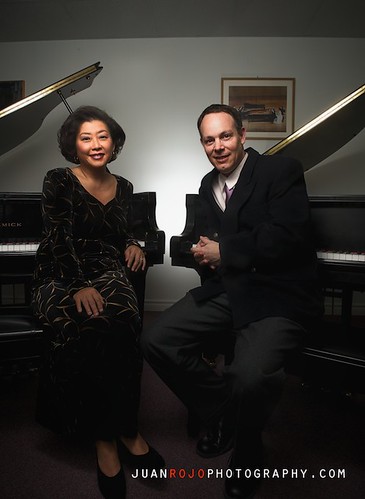
Once again, the client wanted the picture frames removed from the image and the background darkened a bit more, for which I used Viveza 2 and Photoshop CS 4 once more:
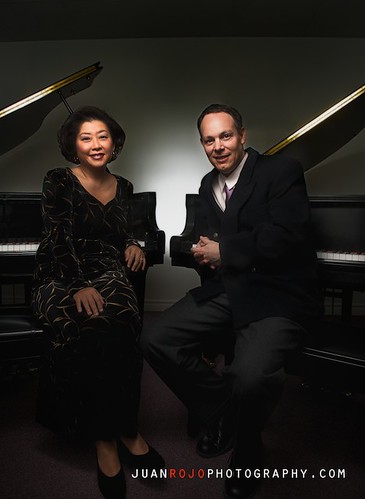
I must say, I'm very pleased with the final results and so was the client. However, as you have seen in this blog post, getting from capture to final image is not always a smooth process and most of the time it takes lots of patience and hard work.


2 comments:
Really great to see updates and new pages, thanks for all the interesting responses and new website information. Ottawa videographers
Planning a special day or a stress-free trip becomes easier when you choose the Best wedding Limo Service Toronto or the Best wedding Limo Service Hamilton for elegant, reliable rides. For travelers, finding Affordable Airport Parking in Toronto saves both time and money. And if you’re car shopping on a budget, exploring Affordable Used cars in Oshawa can help you drive home a great deal without stretching your finances.
Post a Comment